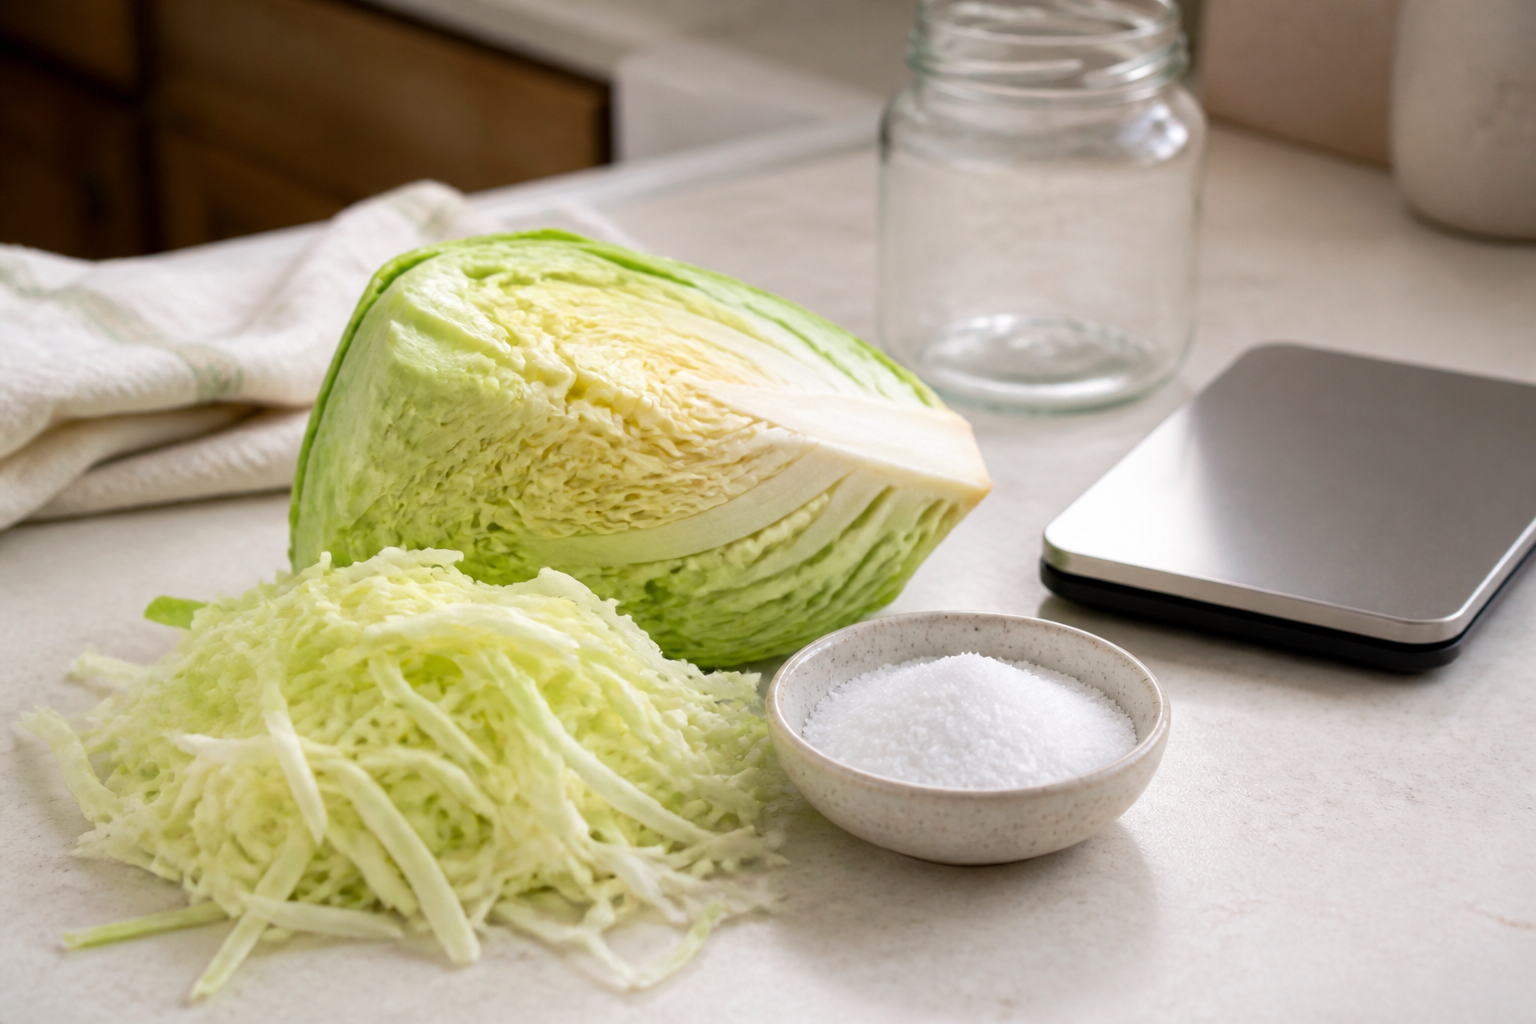
You need less equipment than the average product page suggests.
For a first jar, gather a food-safe vessel, an accurate way to measure, a way to keep vegetables under brine, a safe cover, and a place to track temperature and time. Purpose-built tools can make those jobs easier, but they do not make the ferment for you.
Ask one question about each tool: what job will it do in this jar? If something you already own can do that job safely, use it.
The five jobs every setup has to cover
1. Hold the food in a suitable vessel
Use a clean, food-safe vessel sized for the batch and method. Glass, suitable stoneware, and food-grade plastic are common options. Avoid containers or liners that are not meant for food contact.
A wide-mouth Mason jar is convenient for small batches because it is easy to fill, inspect, and clean. It is not the only vessel that can ferment vegetables. Whatever you choose, confirm the vessel has the capacity and headspace the method requires.
2. Measure the ingredients accurately
Salt is part of the recipe, not just seasoning.
For dry-salted sauerkraut, we calculate salt from cabbage weight. For vegetables covered with a separately mixed brine, we calculate the salt, water, and any required acid as a complete formula. Those approaches are not interchangeable.
A digital kitchen scale is the best general measuring tool because it lets you calculate ratios directly and repeat them. A verified recipe may provide volume measures, but do not estimate salt by eye.
3. Keep the vegetables where the method requires them
For many vegetable ferments, the main food mass needs to remain beneath the brine in a low-oxygen environment.
That job can be handled with a suitably sized plate and sealed water-filled jars for a large crock, a sealed food-grade bag filled with compatible brine, a food-grade glass weight made for the vessel, or another food-contact system that fits securely and performs the same function.
The tool is optional. The job is not.
4. Cover the vessel and manage fermentation gas
Fermentation can produce carbon dioxide. The vessel needs a cover method that fits the recipe and a safe plan for that gas.
An airlock gives gas a route out while helping limit outside air intrusion. That can reduce daily lid management, but it does not create salinity, hold vegetables under brine, set temperature, or tell you when the ferment is finished.
Other cover methods can work when the recipe and monitoring plan account for them. Do not seal an ordinary vessel in a way that traps pressure. Follow the cover and venting instructions for the method and hardware you are using.
5. Monitor temperature, time, and acidification
You need to know where the jar is sitting, how warm that location is, when the batch started, and what changes you are observing.
A simple room thermometer and a dated label are often enough to improve consistency. A calibrated pH meter can add useful information when the method gives a target and a sound sampling procedure.
No measuring device turns one number into the whole safety decision. Use measurements alongside salinity, submersion, temperature, time, aroma, texture, and the method's storage instructions.
Essential, useful, and optional
Essential for most small vegetable ferments
- a verified method with measured ingredient relationships;
- a clean food-safe vessel with suitable capacity;
- an accurate way to measure ingredients;
- a cover and gas-management plan suited to the method;
- a way to maintain required submersion or surface control;
- a stable location within the method's temperature range;
- a simple batch record with start date, formula, and observations.
Useful for repeat batches
- a digital kitchen scale;
- a room thermometer;
- a food-grade fermentation weight;
- a tamper for packing shredded or cut vegetables;
- a jar lid and airlock made for fermentation;
- labels for vegetable, formula, flavor additions, and start date.
Optional or method-specific
- a pH meter and calibration supplies;
- a funnel for narrow or messy ingredients;
- extra vessels for running several formulas at once;
- specialty crocks, springs, pumps, or other systems whose jobs you understand.
More equipment is not automatically better. Keep a tool if it makes the jar easier to measure, pack, cover, or check.
What the common tools actually do
Kitchen scale
Measures vegetable, salt, and water relationships. This is the most useful tool when you want to adjust batch size without losing the formula.
Tamper
Packs shredded or cut vegetables down and helps reduce open space. It is useful for sauerkraut and tightly packed mixed vegetables. It is not a substitute for a weight or a measured formula.
Fermentation weight
Applies downward pressure and helps keep vegetables beneath the brine. Fit matters. The weight needs to work with the vessel and leave enough room for the method's required headspace.
Lid
Covers the vessel. The right lid depends on whether the method uses an airlock, a managed loose lid, a crock cover, or another system.
Airlock
Lets fermentation gas escape while helping limit outside air intrusion. It manages the gas path. It does not hold food down or guarantee a successful batch.
Thermometer
Confirms the jar is actually within the intended temperature range. Room temperature is not one fixed number, especially near a stove, window, exterior wall, or heat vent.
pH meter
Measures acidity at the time and place sampled. It is useful for verification and documentation when calibrated and used correctly. It does not replace the full method.
When an improvised setup makes sense
An improvised setup can be a good choice when you are making an occasional batch, already own suitable food-contact equipment, understand the cover, gas path, and submersion system, and are comfortable checking the batch regularly.
Do not use an object merely because it fits. Avoid unknown metals, lead-glazed pottery, non-food-grade plastic, garbage bags, trash liners, or unstable objects that can tip or trap food above the brine.
When purpose-built tools help
Purpose-built equipment becomes useful when you want to repeat the process with fewer improvised decisions. It can help when small pieces repeatedly work around your improvised cover, you want a compact weight that fits a Mason jar, you prefer an airlock to a manually managed lid, or you are packing dense shredded vegetables.
Purpose-built tools do not change the recipe. They can make the same steps easier to repeat.
How we built the Elementi Fermentation Kit
We built the kit around four recurring jobs: pack the vegetables, hold them beneath the brine, cover the jar, and give fermentation gas a path out.
The kit includes:
- 4 colored wide-mouth airlock lids;
- 4 airlock chambers;
- 4 EasyGrip glass weights;
- 1 dark acacia wood tamper;
- 8 grommets in total, including 4 spares.
It works with wide-mouth Mason jars. Regular-mouth jars do not fit, and jars are not included. The acacia wood tamper is hand-wash only.
The colored lids can help you distinguish batches. The glass weights handle submersion. The tamper handles packing. The airlocks handle the gas path while helping limit outside air intrusion.
You still choose the recipe, measure the salt or brine, keep the jar in range, and decide when it is finished.
See the Elementi Fermentation Kit
Choose the simplest setup that works
Start with the food and the method. List the jobs the batch needs. Then choose the simplest safe tools that perform those jobs well.
You can change the vessel, weight, lid, flavor additions, or batch size when you keep the recipe's formula, headspace, and temperature requirements intact.
Want to see the submersion system in detail?
Learn why fermented vegetables need to stay under the brine
Sources & technical references
- Daeschel MA, Fleming HP. Selection of lactic acid bacteria for use in vegetable fermentations. Food Microbiology. 1984.
- Zabat MA, Sano WH, Wurster JI, Cabral DJ, Belenky P. Microbial Community Analysis of Sauerkraut Fermentation Reveals a Stable and Rapidly Established Community. Foods. 2018.
- National Research Council. Lactic Acid Fermentations. Applications of Biotechnology to Fermented Foods. National Academies Press. 1992.
- National Center for Home Food Preservation. Suitable Containers, Covers, and Weights for Fermenting Food.
- Elementi Fermentation Kit product specification and approved listing references, verified August 18, 2026.