Rinse, drain, invert. Twice a day.
Keep the full reference nearby
The Sprouting Quick Start Guide includes the six-seed timing chart, a day-by-day visual guide, and clear troubleshooting for the moments that tend to stop a first batch.
What you need
- A clean wide-mouth jar and sprouting lid
- Seeds labeled for sprouting, not garden seeds
- Cool, clean water
- A spot on the counter where the jar can drain upside down
The Elementi Sprouting Jar Kit includes two wide-mouth jars and two mesh sprouting lids. Seeds are not included, so choose the variety you want to grow.

The five-step method
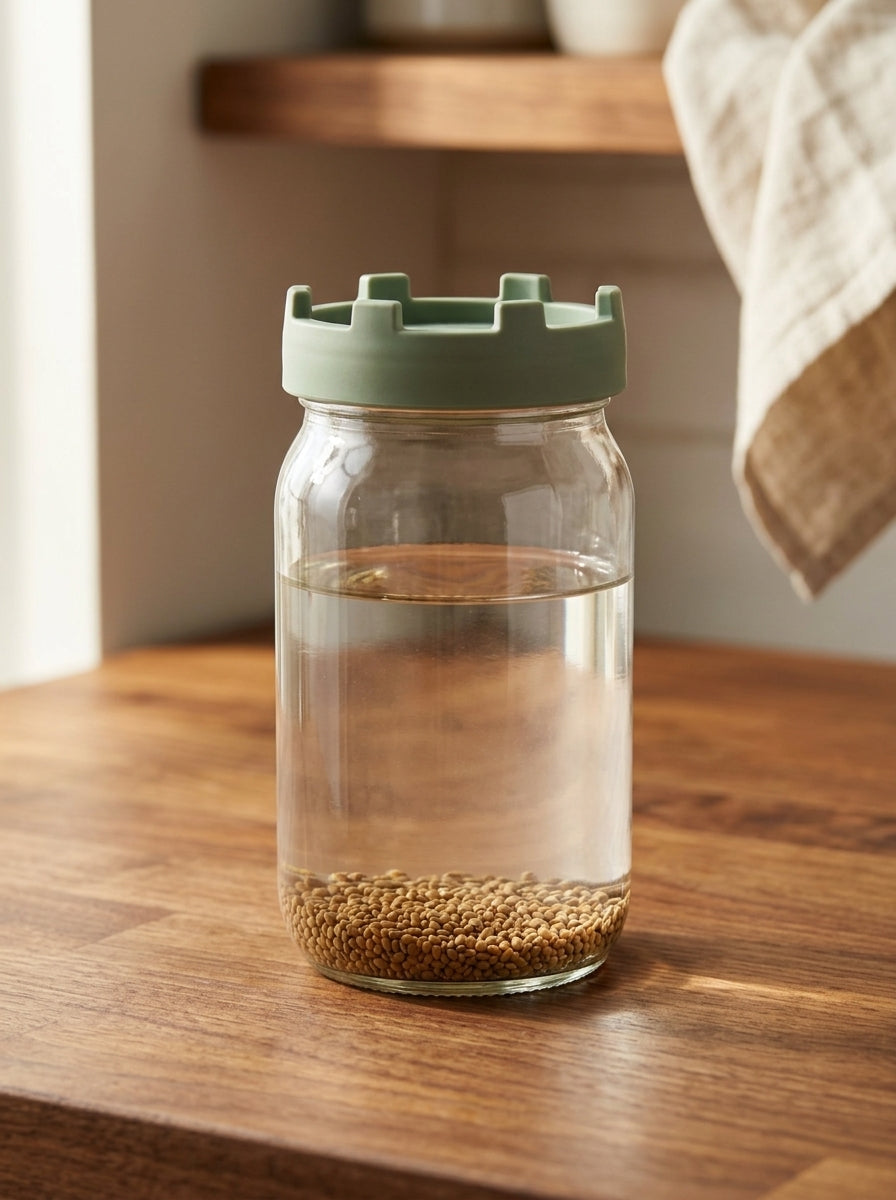
- Measure and soak. Put seeds in the jar and cover with cool water. Leave at least an inch of water above the seeds as they soak. Exact amounts and soak times depend on the seed.
- Drain fully. After soaking, screw on the lid and pour the water out over the sink. A few drops clinging to the seeds are normal. A puddle at the bottom is not.
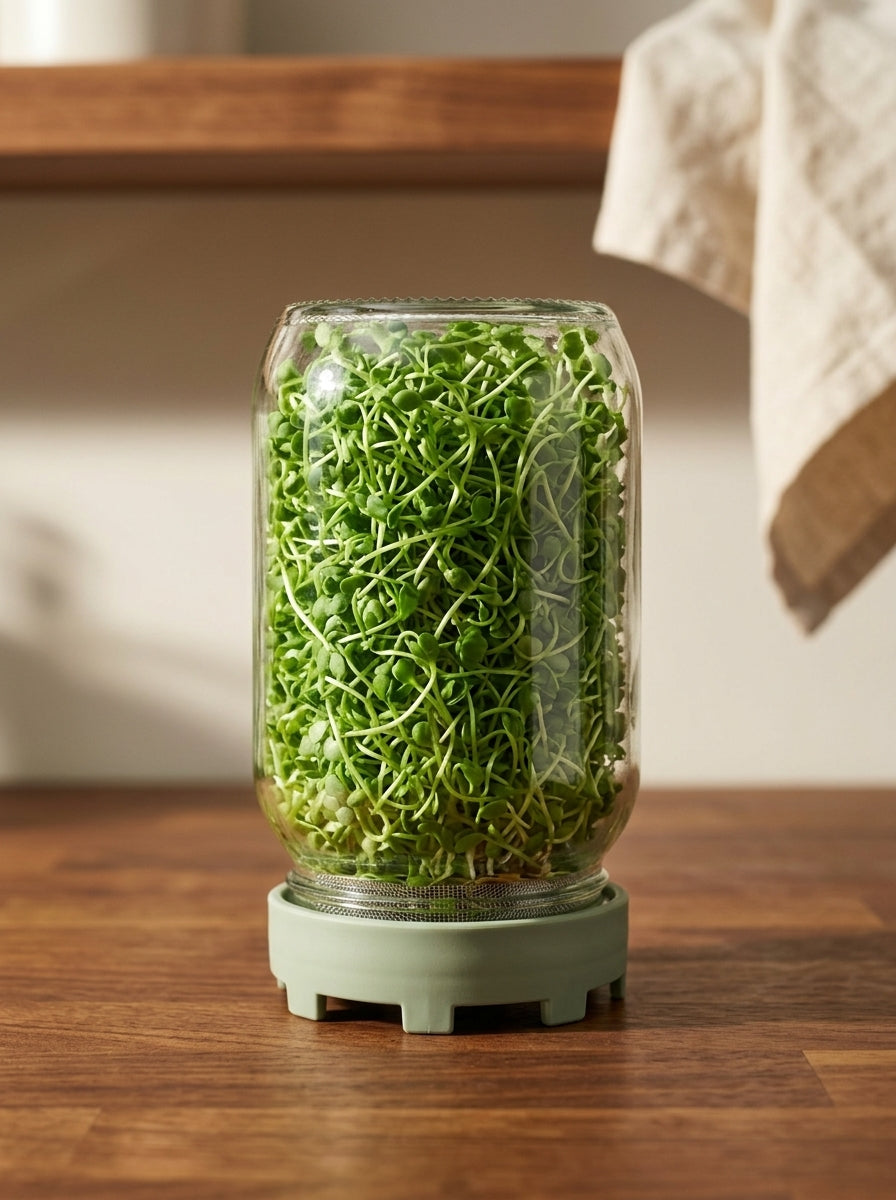
- Rinse, drain, and invert. Twice a day, fill the jar with cool water through the lid, swirl, and drain well. Set the jar upside down on its feet, on the counter or in a shallow bowl.
- Give leafy sprouts bright indirect light. Once leafy sprouts have stems and small leaves, usually around day three or four, move them into bright indirect light. Keep mung beans, lentils, and pea shoots out of direct light.
- Harvest, dry, and refrigerate. When sprouts look lively and smell fresh, give them a final rinse. Drain thoroughly, let excess moisture dry off, then refrigerate. Use within three to five days.

What to look for as the jar grows
Seeds plump up, then tiny white tails appear. Leafy sprouts form a dense tangle of stems. A fine white halo at the base can be normal root hairs. Root hairs are uniform, stay near the roots, and flatten when rinsed.
Fuzzy growth that is patchy, climbs the jar wall, or comes with a rotten or musty smell is different. Do not taste a batch with fuzzy mold, a rotten odor, or persistent slime. Discard it, wash the jar and lid well, and start again with fresh seeds.
What to make first
Start with the food you already like. Pile mild broccoli sprouts on avocado toast, tuck peppery radish sprouts into tacos, or add a handful to eggs, wraps, bowls, and salads.