Fresh food in five days.
Here's how.
This is the only page you'll need. The five-step routine, what each day should look like, six seeds worth trying, and the answers to the questions almost every first-timer asks. Read it through once, then come back to it as you go.
Six seeds to try.
Start with one. Pick a second when you're rotating jars.
| Seed | Per 16 oz jar | Soak | Rinse | Days | Flavor & use |
|---|---|---|---|---|---|
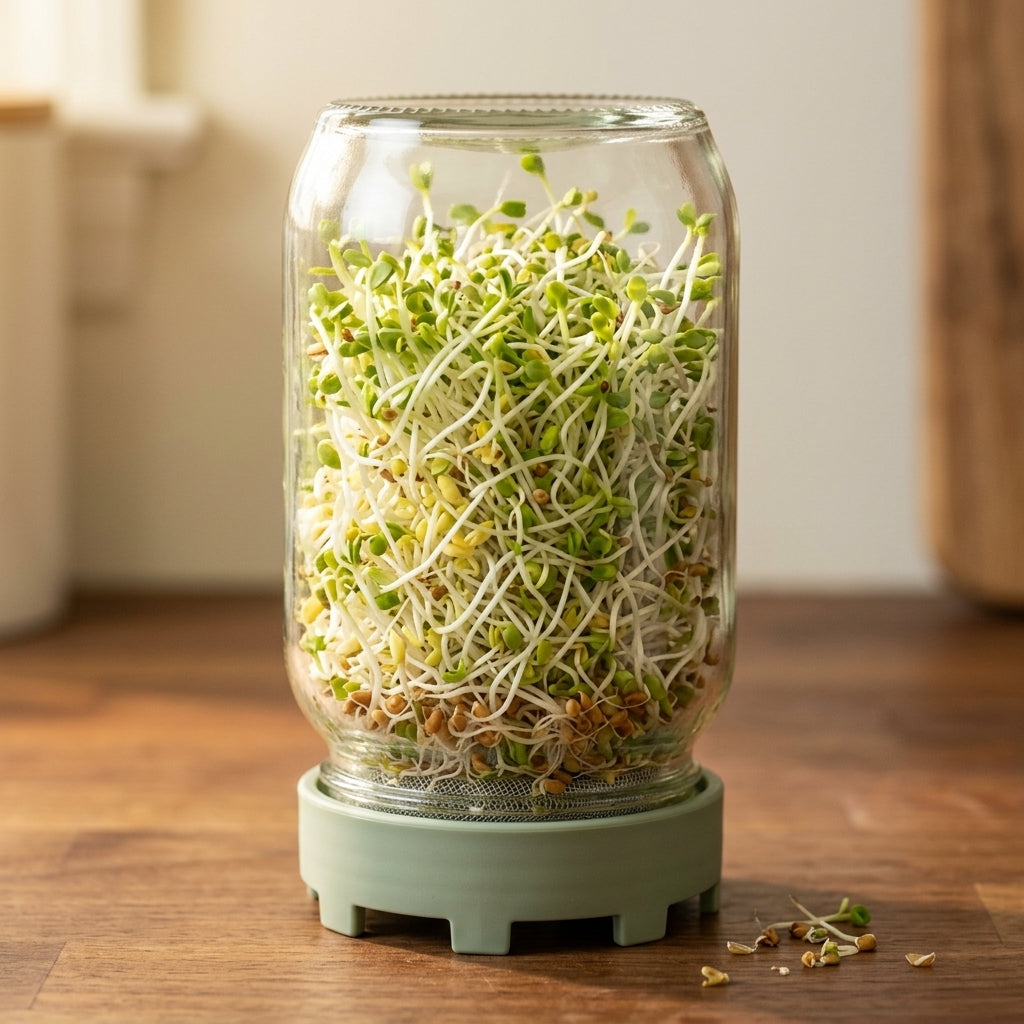 Alfalfa / Clover Alfalfa / Clover
|
1–2 Tbsp | 4–8 hours | 2× per day | 5–6 | Mild, crunchy. Sandwiches, salads, wraps. |
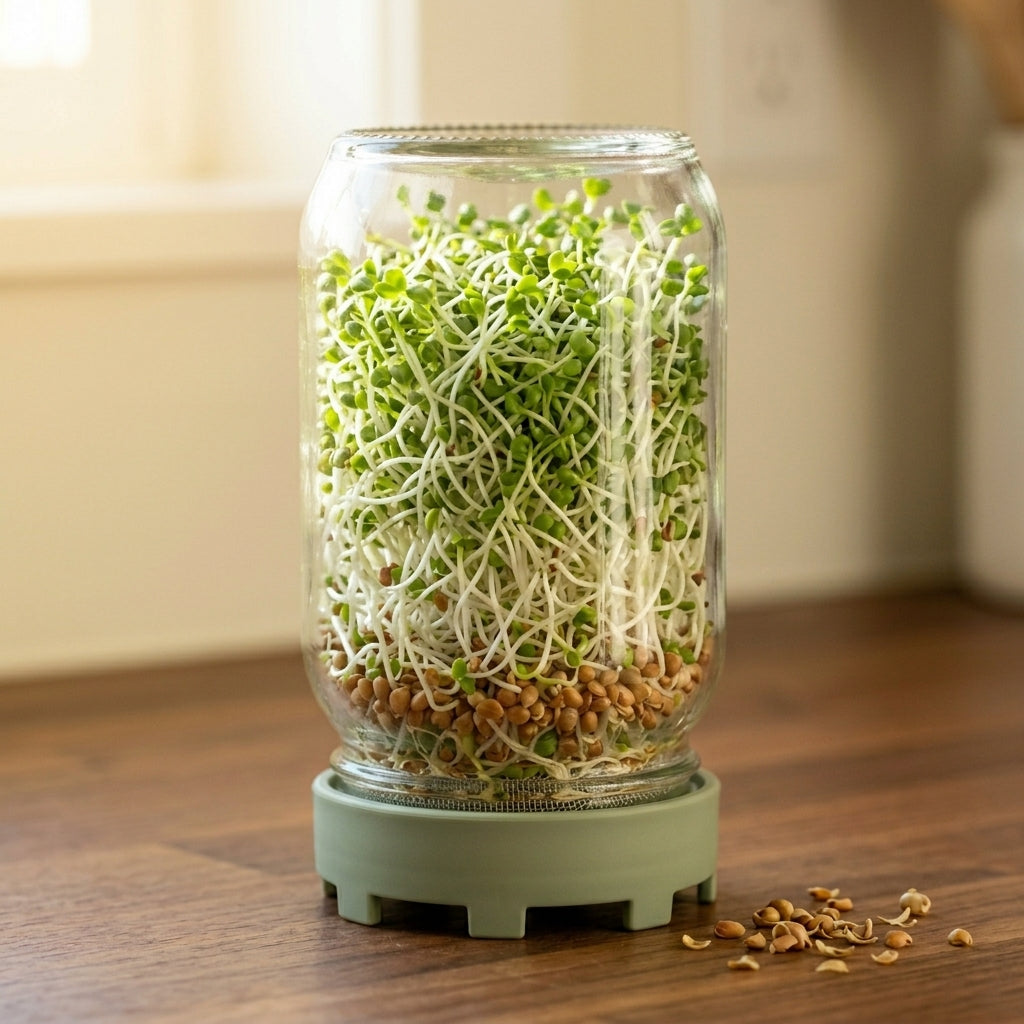 Broccoli Broccoli
|
1–2 Tbsp | 4–8 hours | 2× per day | 5–6 | Mild and a little green. Avocado toast, eggs, bowls. |
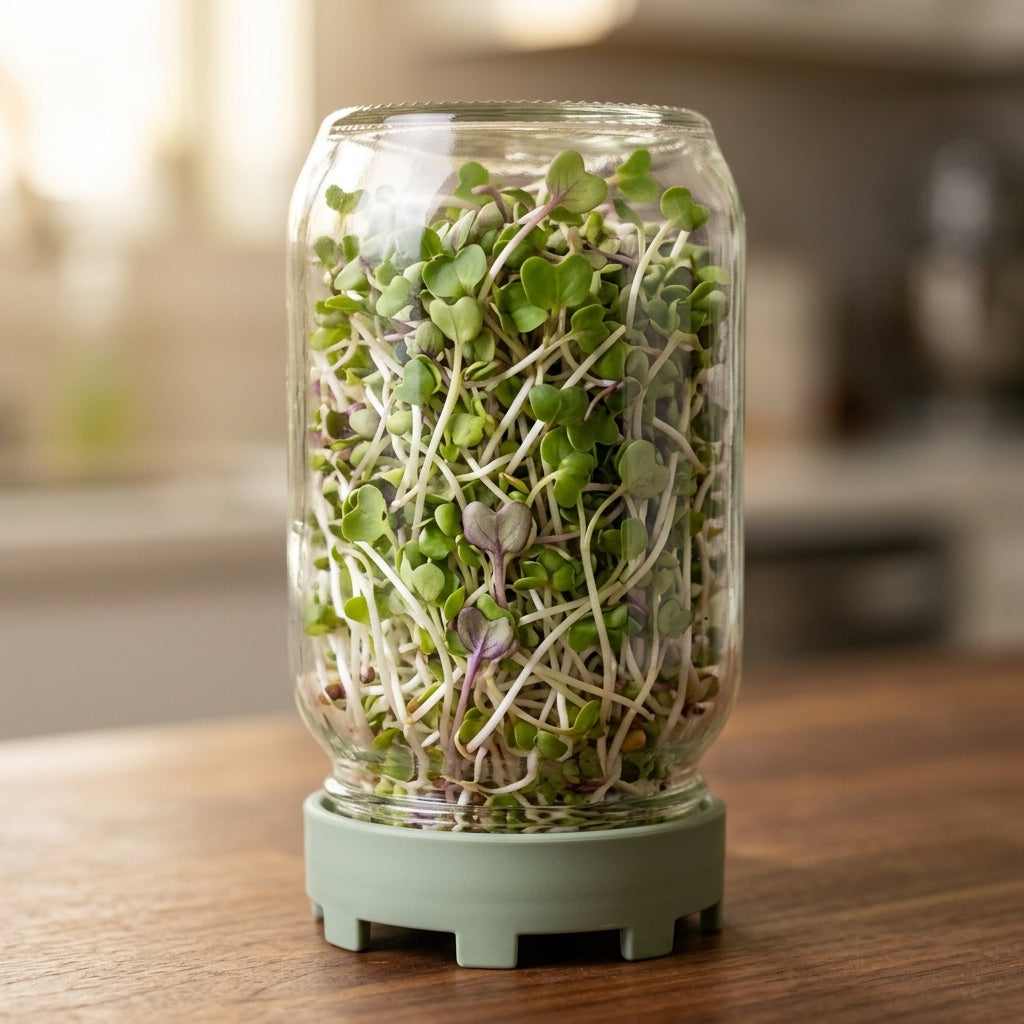 Radish Radish
|
1–2 Tbsp | 4–8 hours | 2× per day | 5–6 | Real peppery kick. Tacos, sandwiches, grain bowls. |
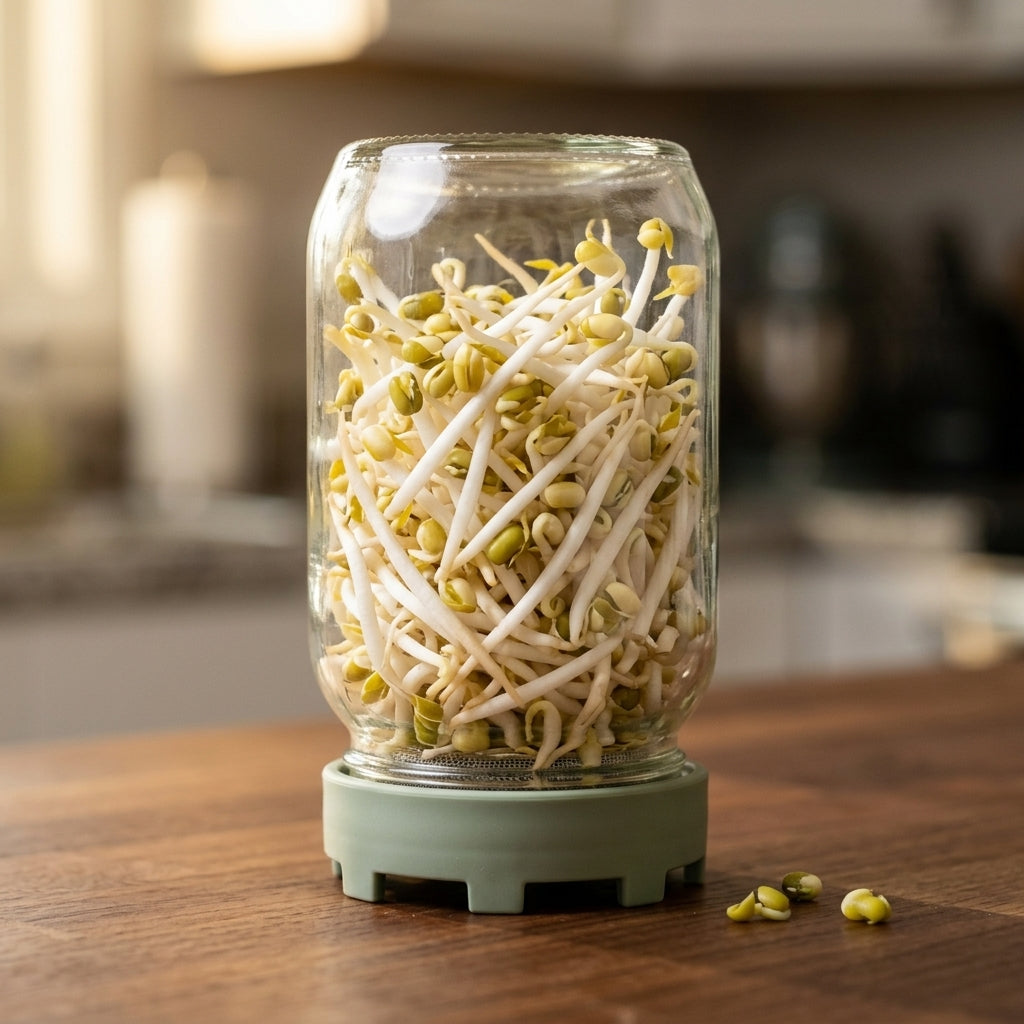 Mung bean Mung bean
|
1/4 cup | 8–12 hours | 2× per day | 2–5 | Crisp and sweet. Stir-fry, pho, pad thai. |
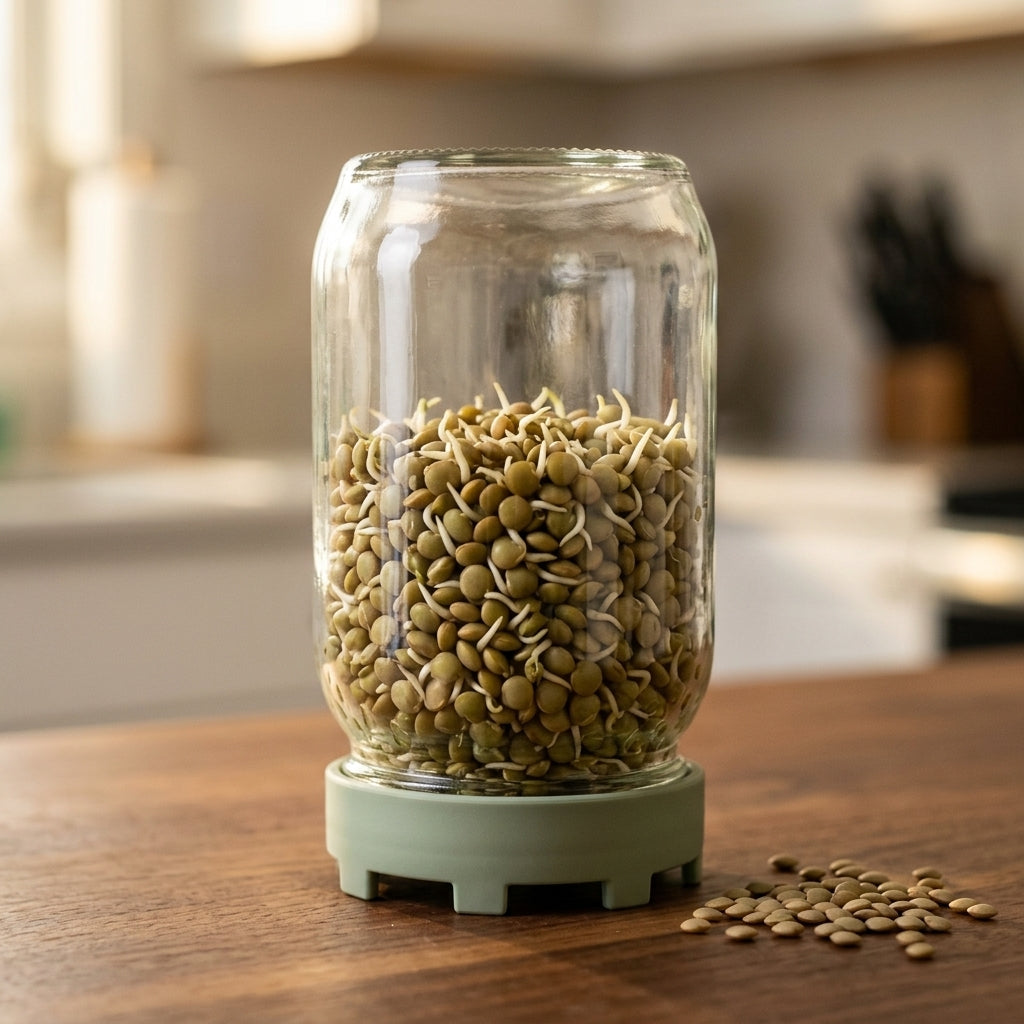 Lentil Lentil
|
2–3 Tbsp | 8–12 hours | 2× per day | 2–3 | Nutty, hearty. Soups, grain bowls, roasted. |
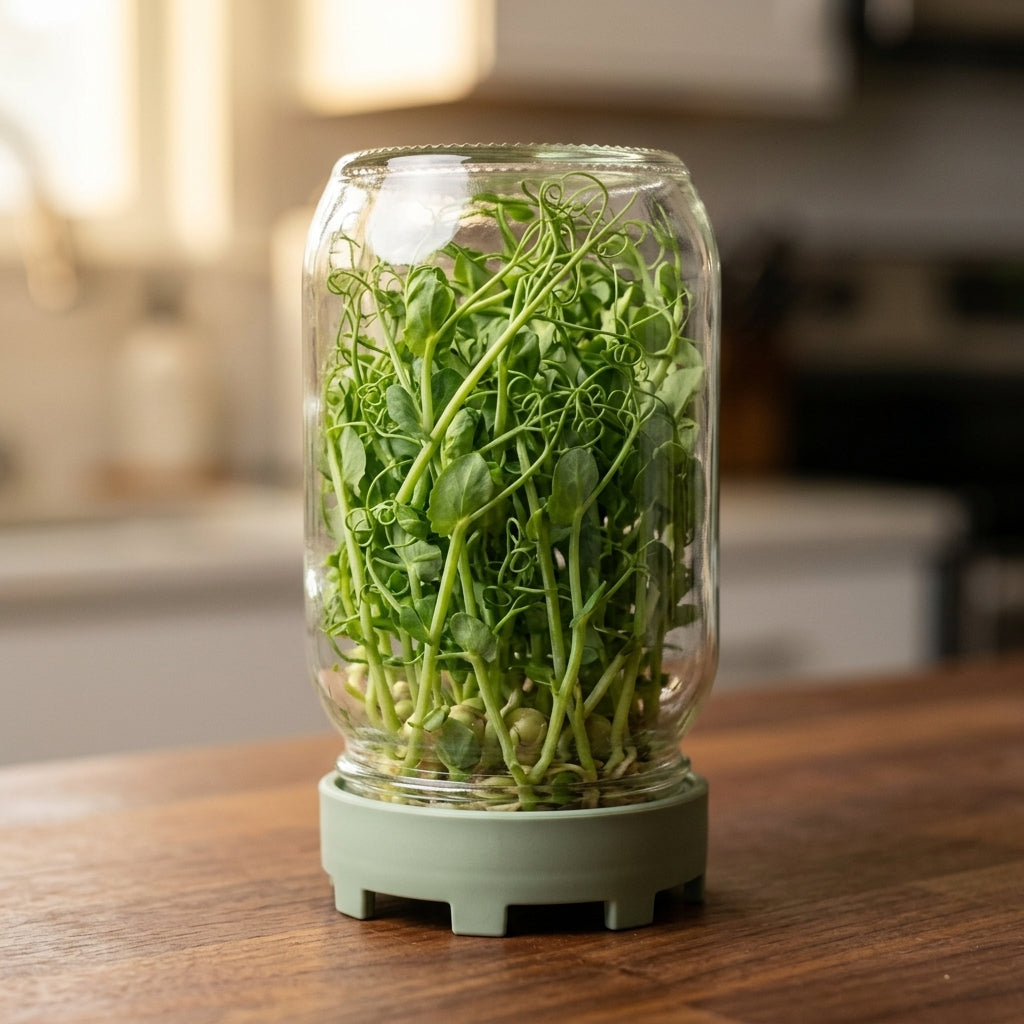 Pea shoots Pea shoots
|
1/4 cup | 6–12 hours | 2× per day | 3–5 | Sweet, fresh, and the most fun on the list. Eat by the handful or pile on salads. |
Per-seed protocols sourced from Sproutpeople, the University of Missouri Extension, Mumm's Sprouting Seeds, and Savvy Gardening. Six seeds is plenty for a first year of sprouting — when you've worked through them, your kit can grow anything else labeled for sprouting (wheat berries, mustard, fenugreek). Full citations at the bottom of the page.
What you've got.
Almost everything's in the kit. The one thing you'll add: a bag of sprouting seeds from the grocery store.
-
One 16 oz wide-mouth jarHand-wash before the first batch. Top-rack dishwasher safe after that.
-
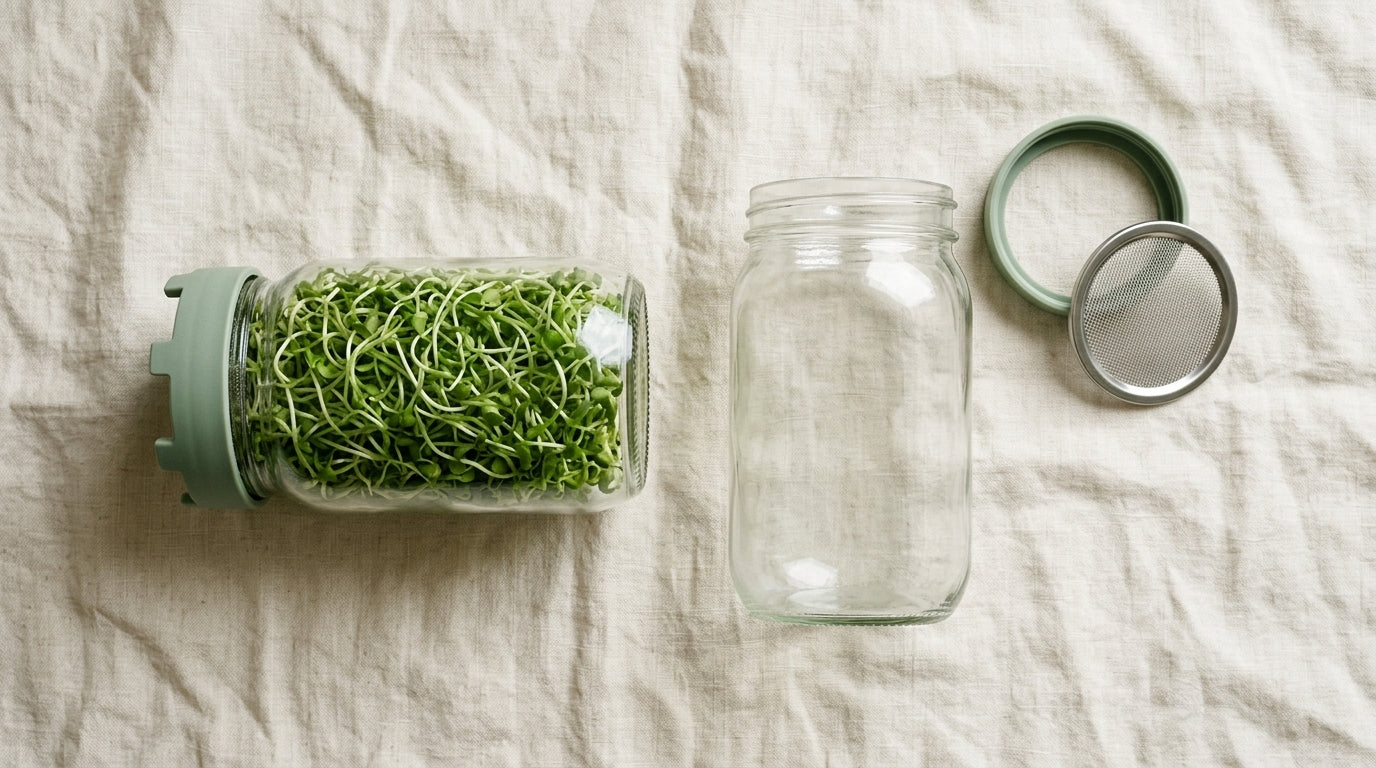
One Elementi sprouting lidOuter collar with the 316 stainless-steel mesh built in. The mesh pops out for cleaning — same lid, one piece in your hand.
-
Cool, clean tap waterTap water is fine in most places. Filtered if your tap runs strongly chlorinated.
-
Sprouting seeds — labeled for sprouting, not garden seedsSprouting seeds are cleaned and tested for raw eating; garden seeds may be treated with fungicides. Any health-food store carries them, and most well-stocked grocery stores do too.
A bag of sprouting seeds lasts months and runs you a few dollars. One tablespoon grows a full jar.
A few basics.
Sprouting is simple. These are the small things that make the difference between a great first batch and a frustrating one.
- Wash everything before each batch. Hands, jar, and lid in hot soapy water. Most first-batch problems trace back to a jar that wasn't fully clean.
- Use sprouting-labeled seeds. Not garden seeds. Sprouting seeds are produced and tested for raw eating; garden seeds may carry fungicide treatments meant for soil, not your jar.
- Rinse well, drain well. Standing water is the single biggest cause of off-smells, slime, and actual mold. The lid's feet handle the draining for you — that's what they're for.
- Skip chia, flax, and basil. These seeds form a gel coat when wet and block airflow. They sprout fine in other setups; they don't sprout in a jar.
- A note for higher-risk groups. If you're pregnant, feeding young kids, or immunocompromised, the FDA recommends cooking sprouts before eating — a quick sauté or stir-in works. This applies to all raw sprouts, not just home-grown ones.
Guidance here draws on UConn Food Safety, the University of Missouri Extension, and the FDA. Full citations at the bottom of the page.
Five steps, every batch.
One routine. Every seed. About a minute a day, end to end.
-
1
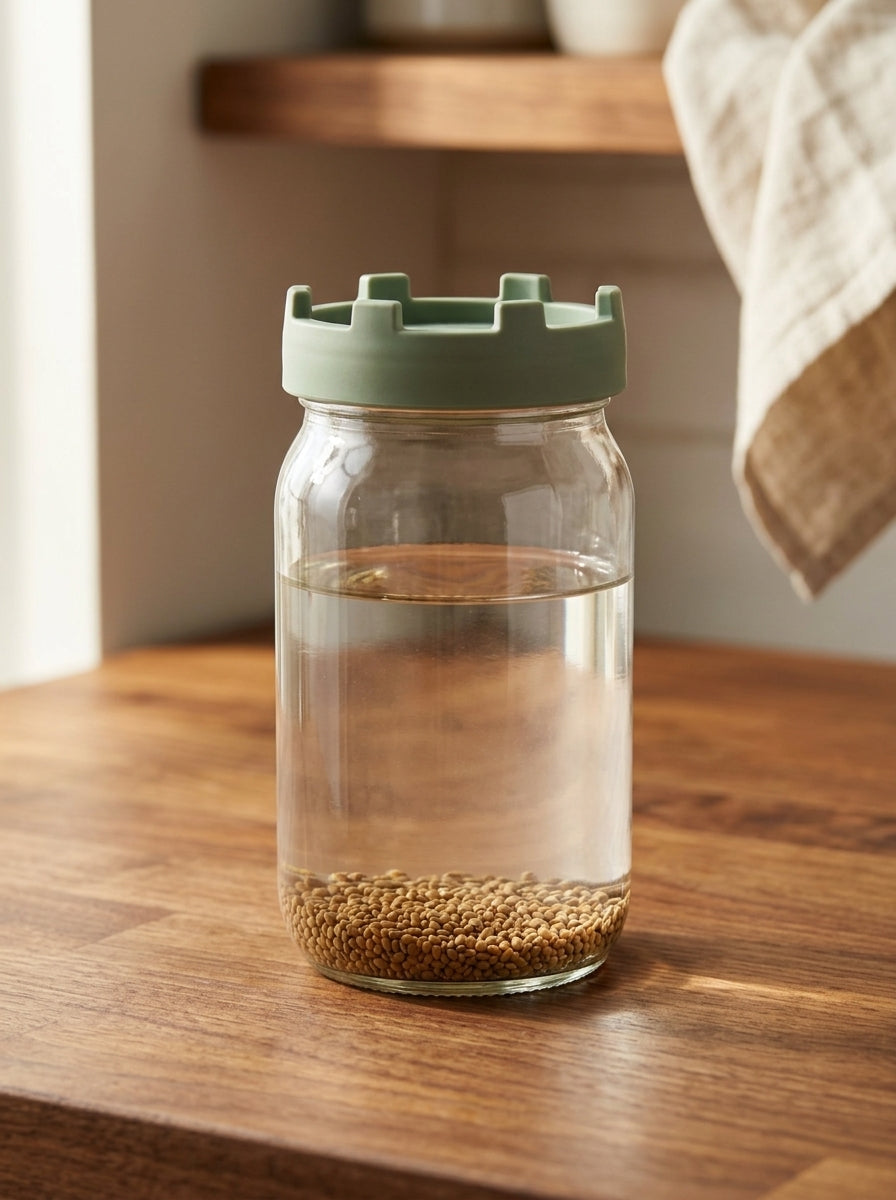
Measure and soak.
Add seeds to the jar and cover with cool water — at least an inch above the seeds. Soak 8 hours; overnight is perfect.
Default amounts: about a tablespoon for leafy seeds (alfalfa, broccoli, radish), a quarter cup for beans (mung, lentil) and pea shoots. Per-seed amounts and exact soak times are in the seed guide below.
-
2
Drain well.
Screw on the Elementi lid. Tip the jar over the sink and drain everything out. A few stray drops cling to the seeds — that's fine. Pooled water at the base is not.
-
3
Rinse, then invert on the feet.
Twice a day, fill the jar with cool water through the lid, swirl, and pour it back out. Then set the jar upside-down on its feet on the counter or in a shallow bowl. The feet hold the jar mouth-down so water drains out and air keeps flowing in. That's the whole mechanic.
Twice a day is the baseline — once when you're up, once before bed. Thirty seconds each.
-
4
Green them (leafy sprouts only).
On day 3 or 4, move the jar to bright indirect light — a kitchen counter near a window is ideal. Pale yellow leaves develop chlorophyll and turn green over a day or two.
This step is for leafy sprouts only — alfalfa, clover, broccoli, radish, cabbage. Mung beans, lentils, and pea shoots stay out of direct light the whole time; greening them turns them bitter.
Direct sunlight is too much. Bright indirect light only. -
5
Harvest and store.
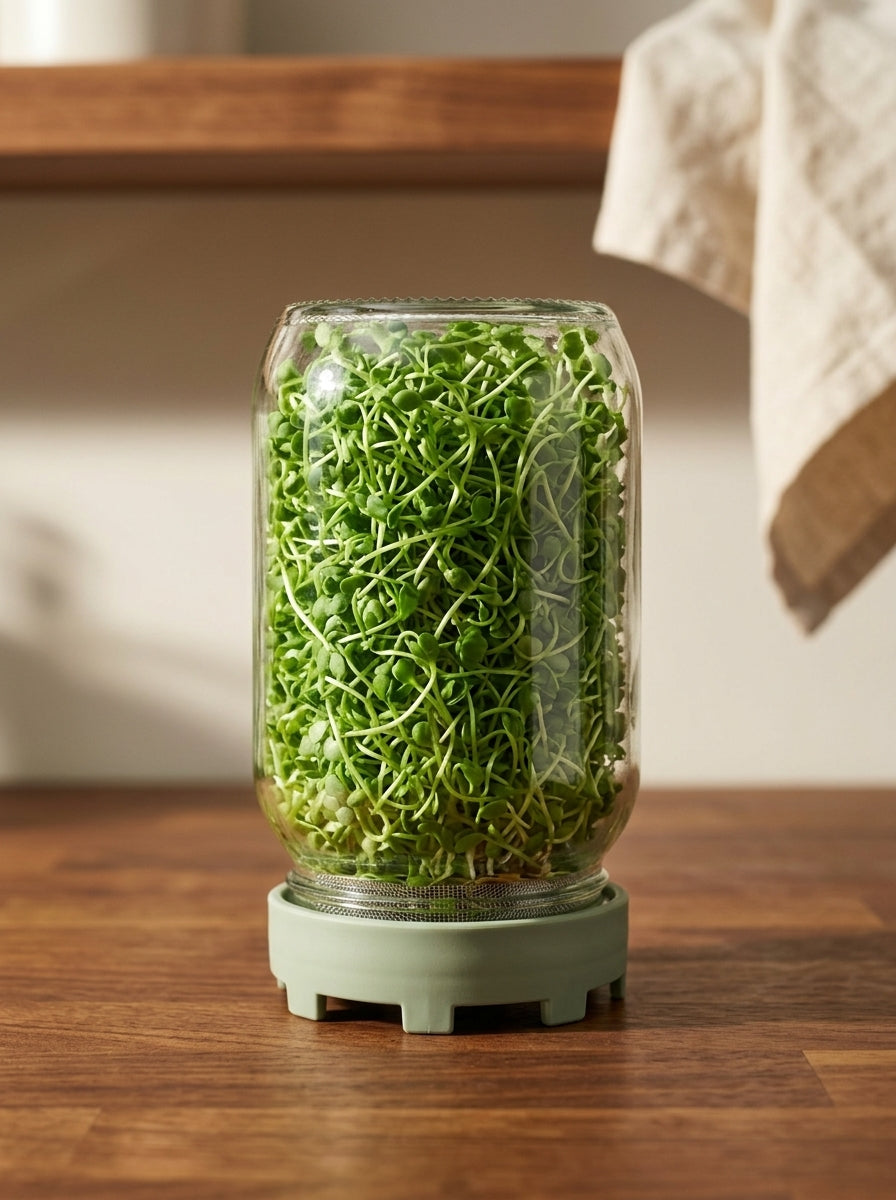
When the jar is full of bright, alive-looking sprouts and they look like the day-5 photo above, they're ready.
Rinse one last time. For leafy sprouts, fill the jar with water until it overflows and let the tan hulls float out through the mesh. A few stay behind — they're edible, no rescue needed.
Drain thoroughly. Let the jar sit a few hours at room temperature so the sprouts air-dry — dry sprouts keep longer than wet ones. Then move them to the fridge.
They'll keep three to seven days in a sealed container or covered jar. UConn Food Safety's conservative number is three to five.
Dry sprouts store longer than wet ones.
What yours should look like.
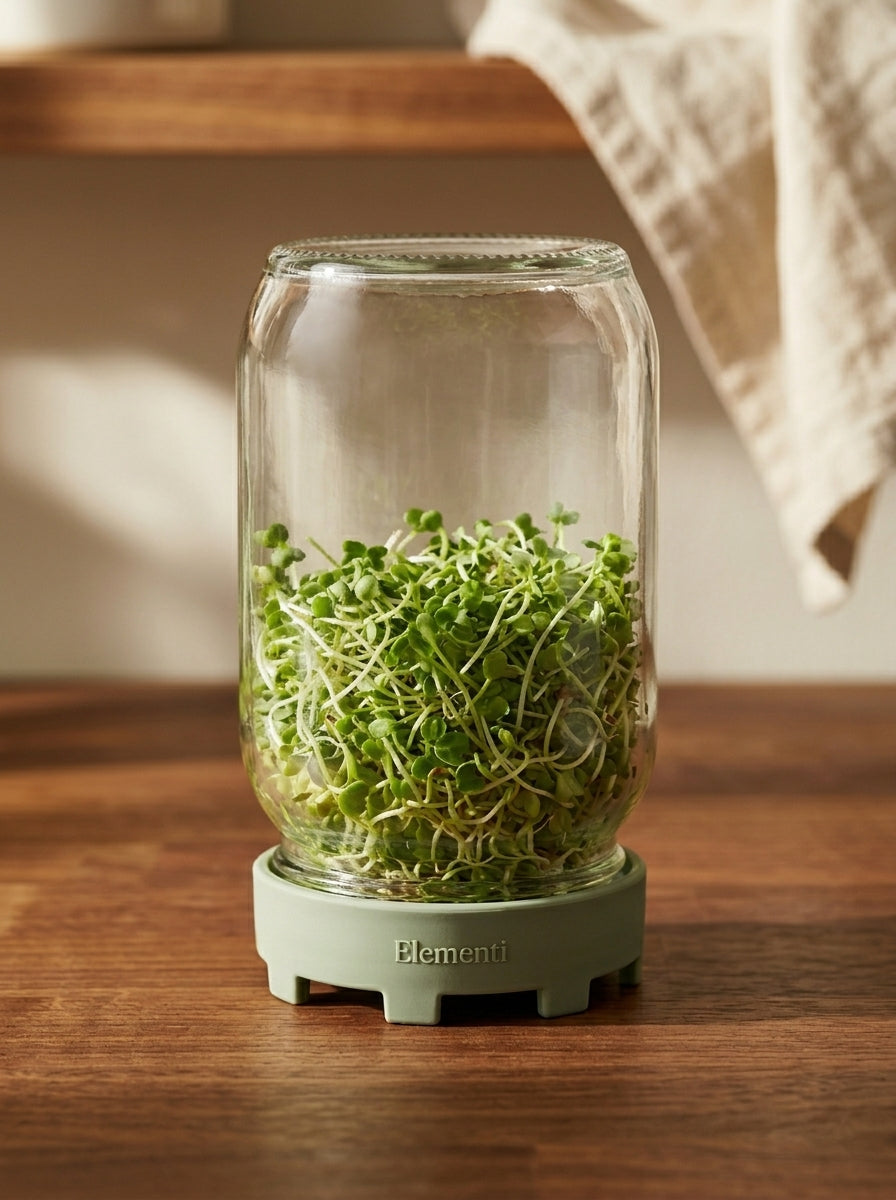
This arc is for leafy sprouts — alfalfa, broccoli, radish. Beans and lentils finish faster (2–3 days for lentils, 2–5 for mung); pea shoots run 3–5. Use this as the visual anchor and adjust by seed. Yours won't look exactly like the photos — your jar isn't a photo studio. If the timing's roughly right and the sprouts smell fresh and green, you're on track.


If something looks off.
Almost every first-batch worry traces back to one of three things: standing water, room temperature, or the white-fuzz question. Here's how to tell which is which.
Is this mold?
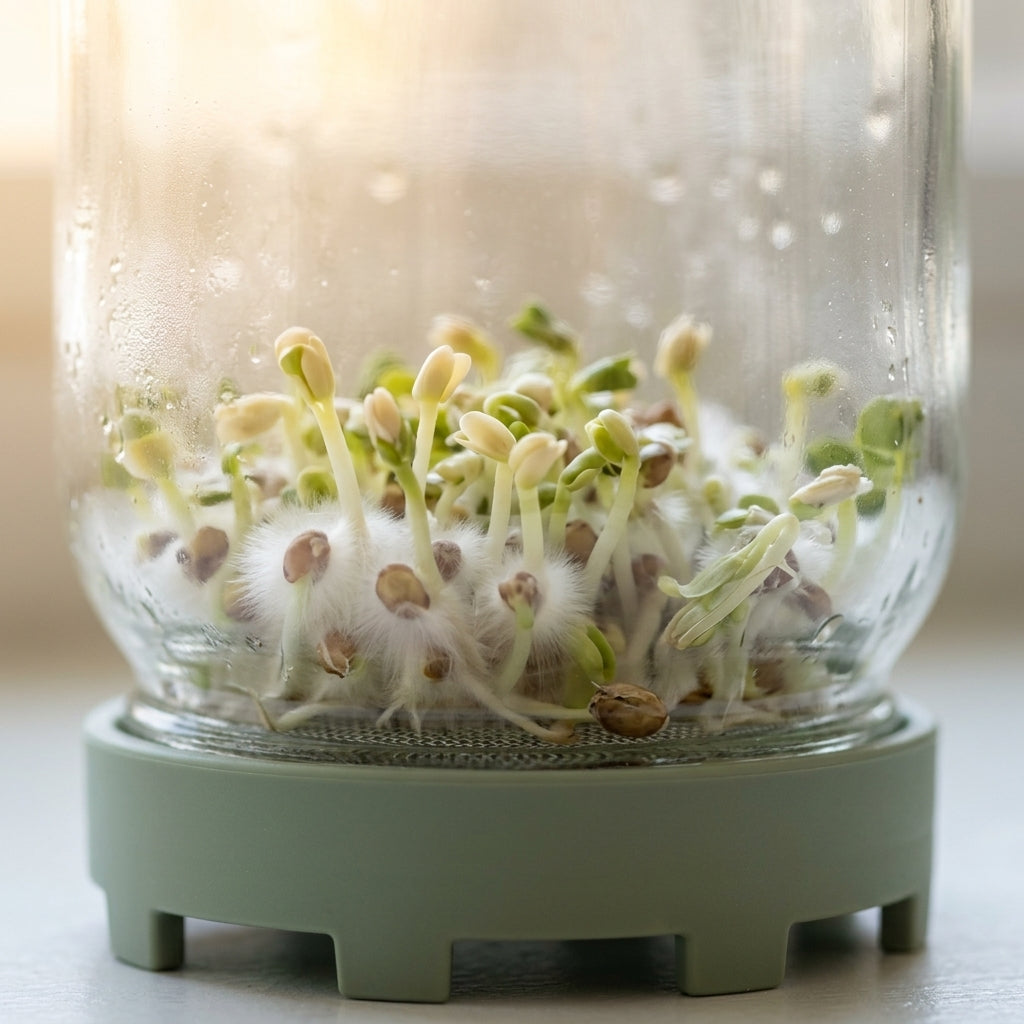
- Pure white, fine, uniform
- Only at the base / on roots
- Disappear when you rinse
- Sprouts smell fresh and green
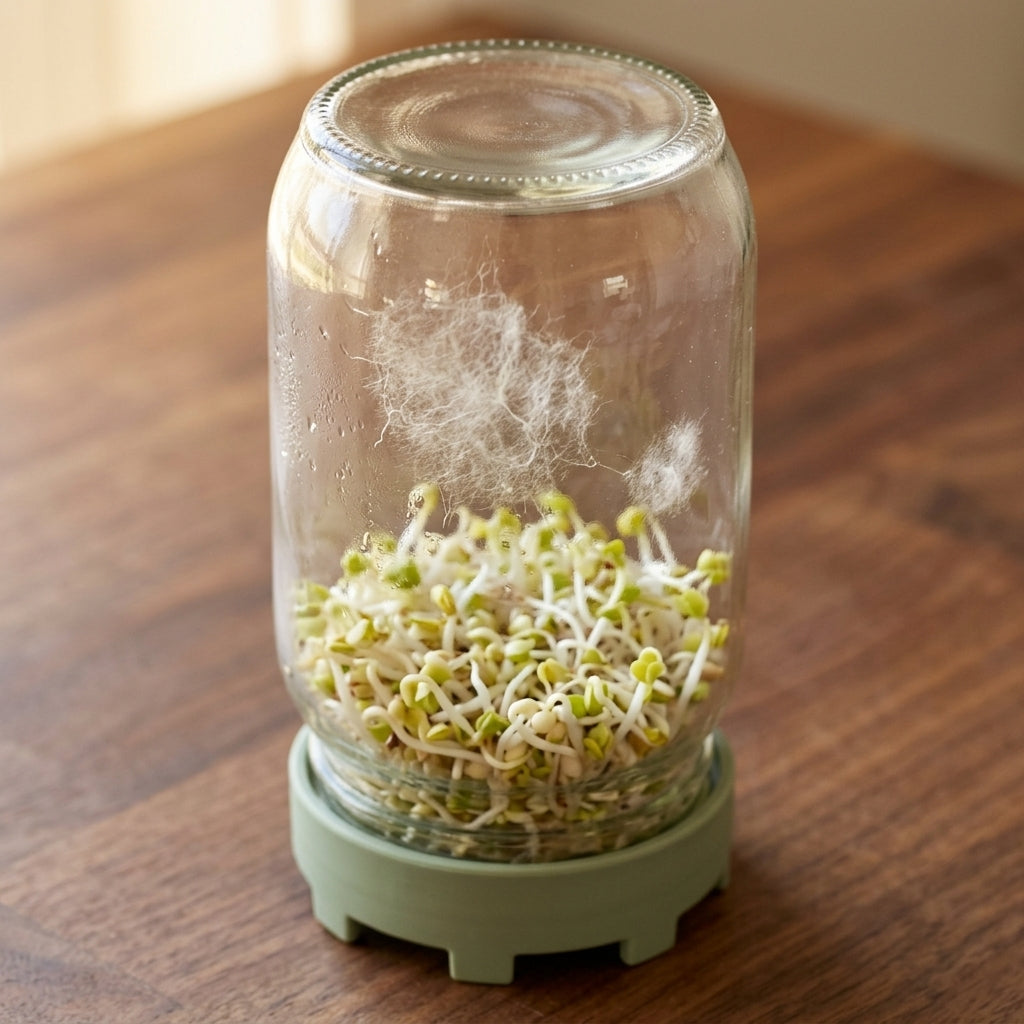
- Off-white, gray, green, or black
- Climbs the jar wall or stems
- Patchy — in one spot, not even
- Sour, musty, or rotten smell
Usually, no. The white fuzz that shows up around day 2 or 3 is root hairs — part of the sprout, not a problem. Once you've seen both, you can't unsee the difference. The image pair below is the side-by-side. Trust your nose: if it smells fresh and green, you're fine. If it smells off, toss the batch, wash the jar and lid in hot soapy water, and start again with new seeds.
My sprouts smell sour or musty.
Nothing's happening. The seeds aren't doing anything.
They feel slimy.
They don't look like the ones at the grocery store.
The hulls are everywhere.
I missed a rinse — is it ruined?
Keep sprouting.
Two jars, six seeds, and a thirty-second routine. That's the whole habit.
Continuous rotation.
Start your second jar when the first one's on day 3. From then on, a fresh jar finishes every two to three days and you're never out. That's what the second jar is for.
Lentils on a fast cycle, broccoli on a slow one, alfalfa anytime — the rotation tunes itself to your week.
Try a new seed.
Broccoli is the easy first win. Radish gives you a real peppery kick. Lentils and mung finish in two to five days when you want a fast batch. Pea shoots are the dessert of the list — sweet, fresh, ready in three to five days, and the one you'll eat by the handful.
Try a new one every fourth or fifth batch. By the end of a season you'll know which two you actually want on your counter.
How people actually eat them.
A handful on almost anything.
Avocado toast — pinch of salt, fistful on top. Eggs — scramble them in at the end or pile on. Tacos and wraps — swap them for iceberg, they hold up better. Grain bowls and salads — small handful per bowl, crunch included.
You won't need to plan meals around them. You'll just start reaching for the jar.
Between batches
- Top-rack dishwasher safe — both jars and lids. The mesh comes out for a deeper clean if you want it.
- Avoid sudden temperature changes — don't pour boiling water into a cold jar. Anything under 140°F is fine.
- Rinse between batches; deep-clean weekly with hot soapy water, mesh out, dry fully before the next batch. If you switch seed varieties, deep-clean before the next jar.
Come back anytime — save this page.
Where this guide draws from.
Per-seed timing and food-safety guidance in this guide pull from the sources below. Where authorities differ, we note it in the relevant section.
- UConn Food Safety Seed and Bean Sprouts — home and commercial guidance
- University of Missouri Extension Grow Some Sprouts Indoors
- U.S. Food and Drug Administration Guidance on Reducing Microbial Hazards in Sprout Production
- Sproutpeople Per-seed sprouting protocols
- Mumm's Sprouting Seeds Per-seed protocols and timing
- Savvy Gardening Pea Sprouts and Shoots — step-by-step growing guide